# Editing HTML/CSS templates
Create and edit HTML/CSS templates directly in the dashboard. Work on your markup and styles alongside a live preview, test Handlebars variables, and save the template for image generation through the API.
Existing HTML/CSS templates created through the API open in the same code editor.
[Open templates](https://htmlcsstoimage.com/dashboard/templates)
## Open the code editor
To create a template:
1. Open **Templates** in the dashboard.
2. Click **Create New Template**.
3. Choose **Code editor** under **How would you like to build?**
4. Edit the starter HTML and CSS, then click **Save**. Enter a template name when prompted.
To edit an existing template, find the **HTML/CSS** entry in the Templates list and click its pencil button, **Edit template**. Its saved markup, styles, and rendering options load into the workspace.
The list also has a **Duplicate template** action. Use it to start an unsaved copy that gets its own template ID when you save it.
Choose **Block editor** when you want to arrange text, images, and layouts visually. The [block editor quick start](/template-editor/quick-start/) covers that workflow.
## Find your way around
| Area | What you can do |
| --- | --- |
| HTML | Edit your markup and Handlebars expressions. |
| CSS | Edit the stylesheet applied to your template. |
| Options | Set viewport dimensions, fonts, capture settings, and other rendering options. |
| Variables | Enter temporary test values using structured fields or raw JSON. |
| Preview | See the result as you edit, adjust the preview zoom, and restart scripts. |
| Details | Set the template’s name and description. |
| Save | Save a new template or changes to an existing one. |
On wide workspaces, **Split panels** moves Options and Variables into a separate middle column so you can keep the source, settings, and preview visible together. Click **Combine** to return them to the source tabs.
## Edit HTML and CSS
Use the **HTML** tab for markup and the **CSS** tab for styles. Changes update the preview automatically.
To follow the example shown in the screenshots, put this in HTML:
```html
{{title}}
{{description}}
```
Then add these styles in CSS:
```css
.card {
padding: 48px;
font-family: sans-serif;
background: white;
min-width: 240px;
}
h1 {
color: #2563eb;
}
```
## Test variables
The editor discovers Handlebars variables in your HTML, such as `{{title}}`, and lists them in **Variables**.
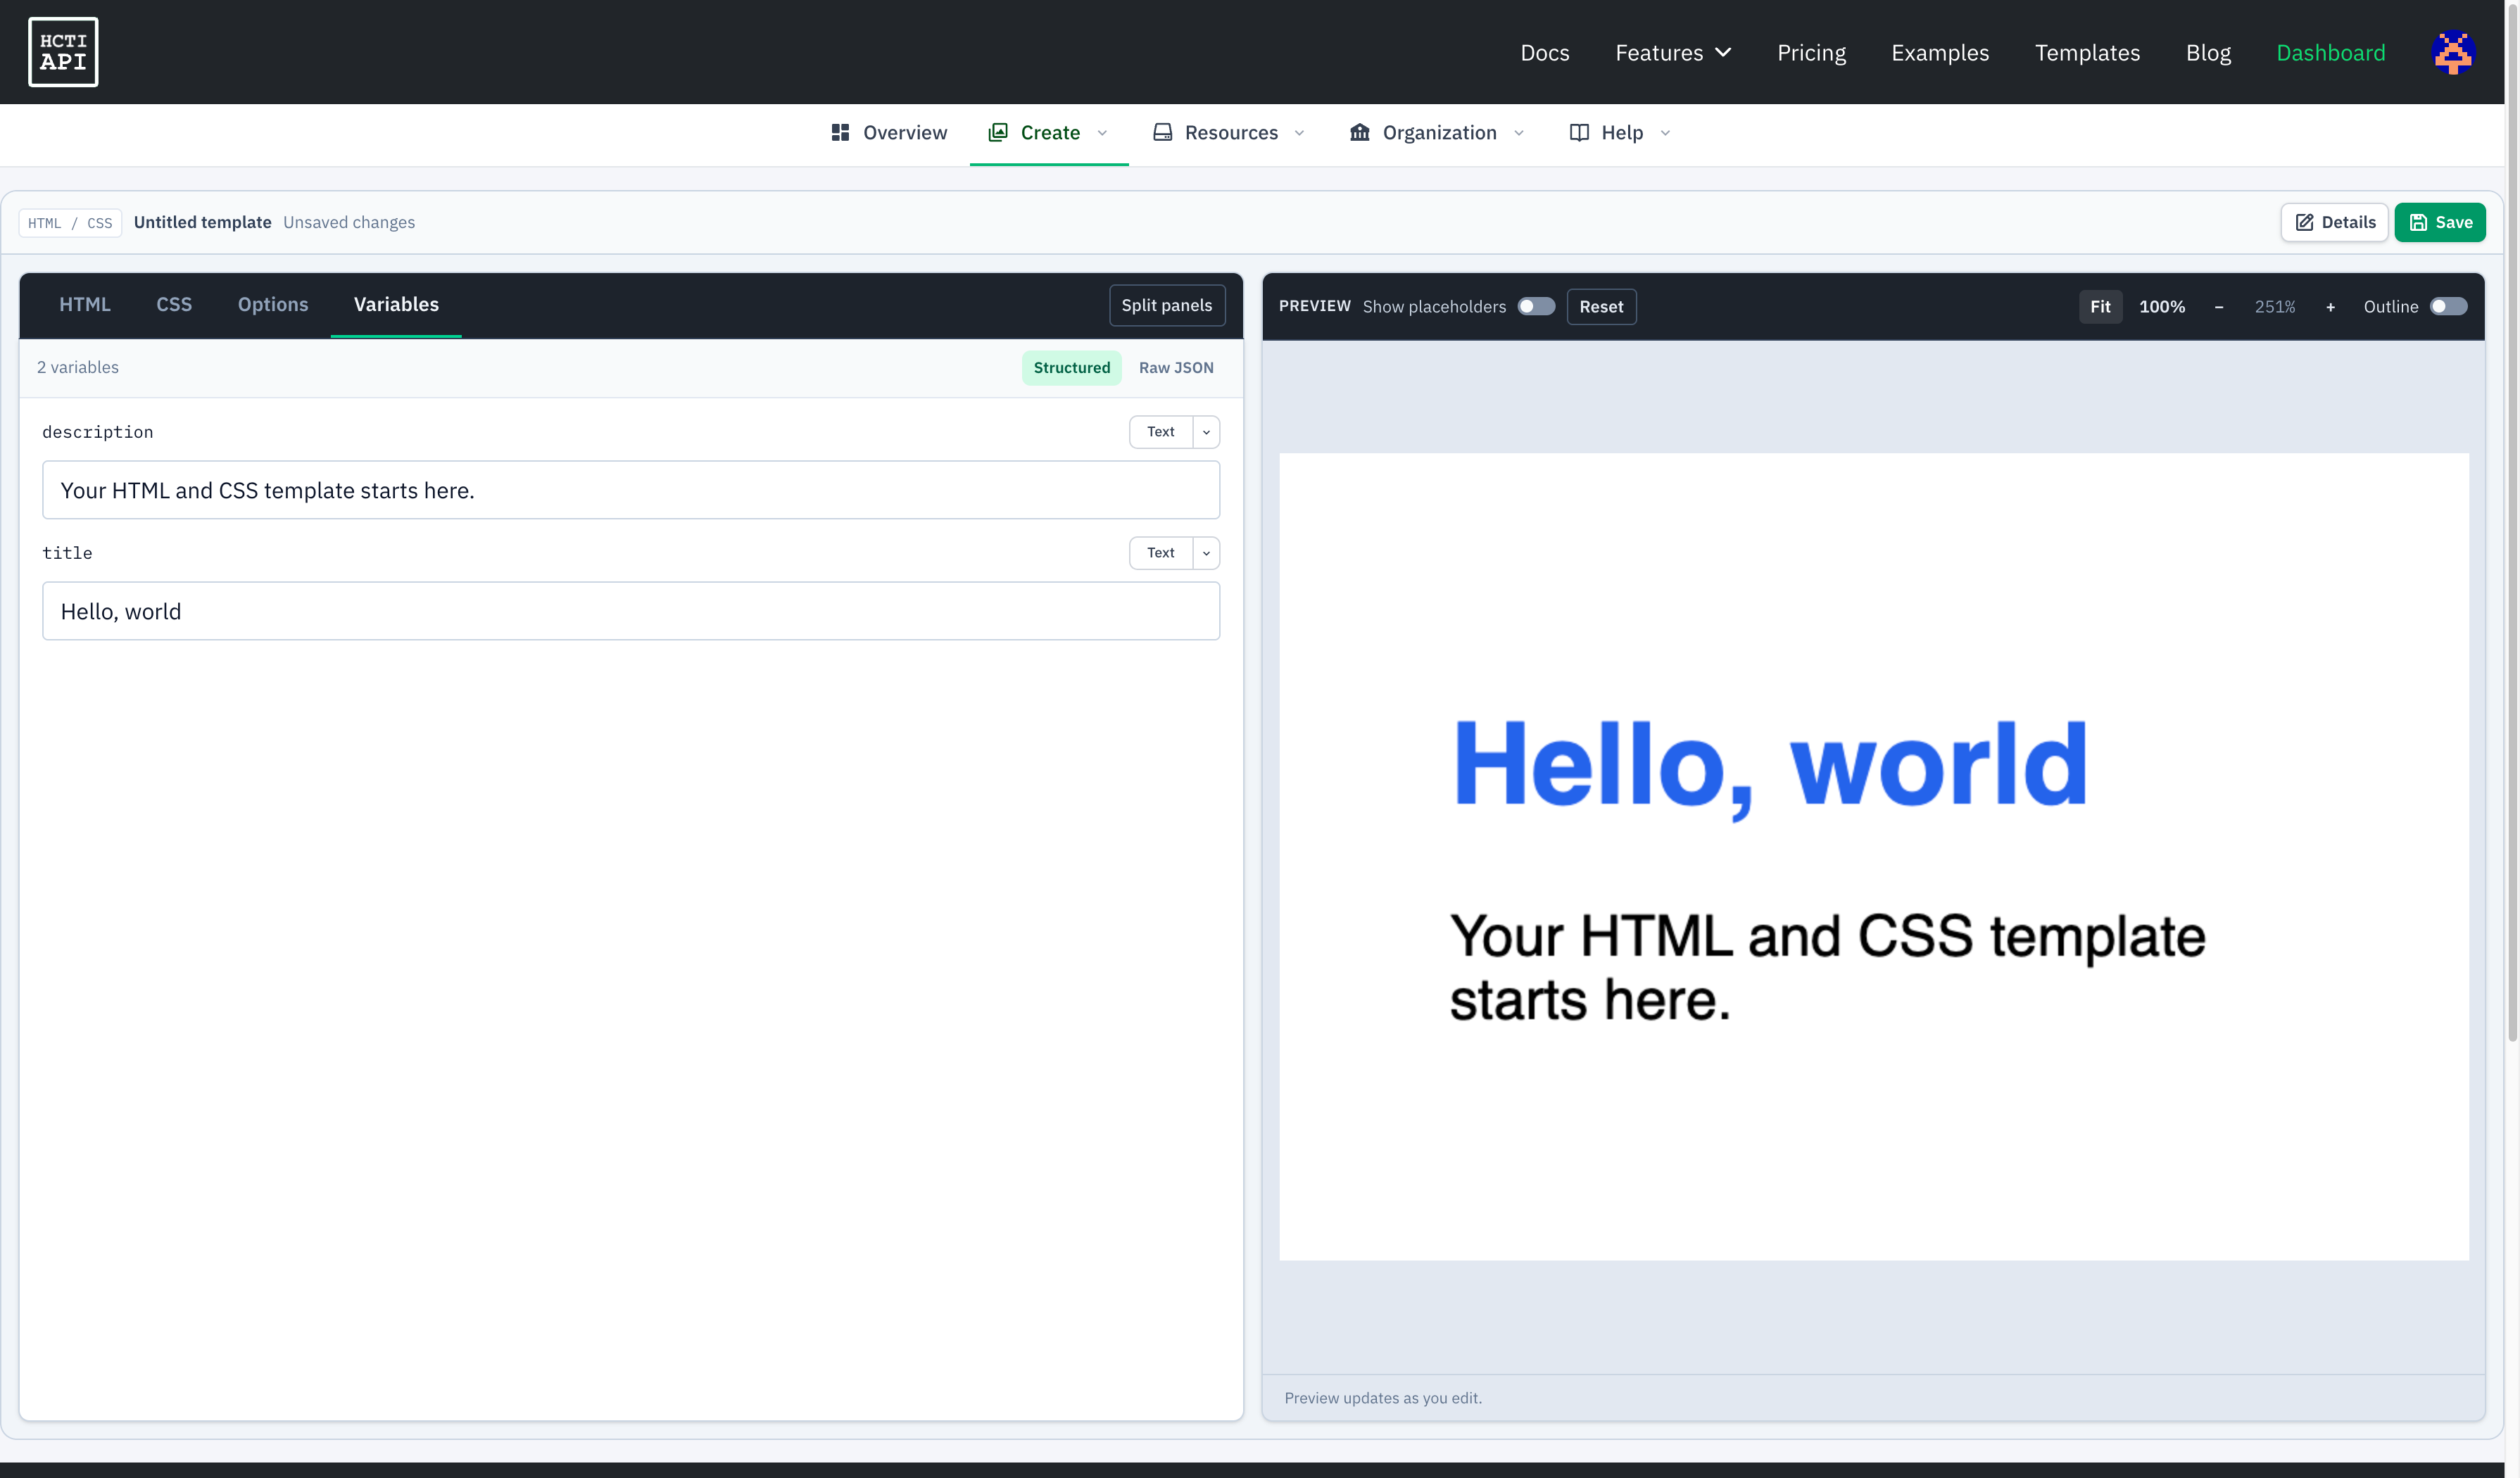
Enter test values in Variables to see your template with sample content.
Use **Structured** to fill in individual fields. Simple values can be entered as Text, Number, or Boolean. Use **Raw JSON** for arrays, objects, or a complete test payload:
```json
{
"title": "Hello, world",
"description": "Your HTML and CSS template starts here."
}
```
Enter the values object itself here; the `template_values` wrapper is only needed in your image creation request. If the JSON is invalid, the editor shows an error and keeps using the previous valid values in the preview.
Turn on **Show placeholders** above the preview to display the Handlebars expressions instead of substituting your test values.
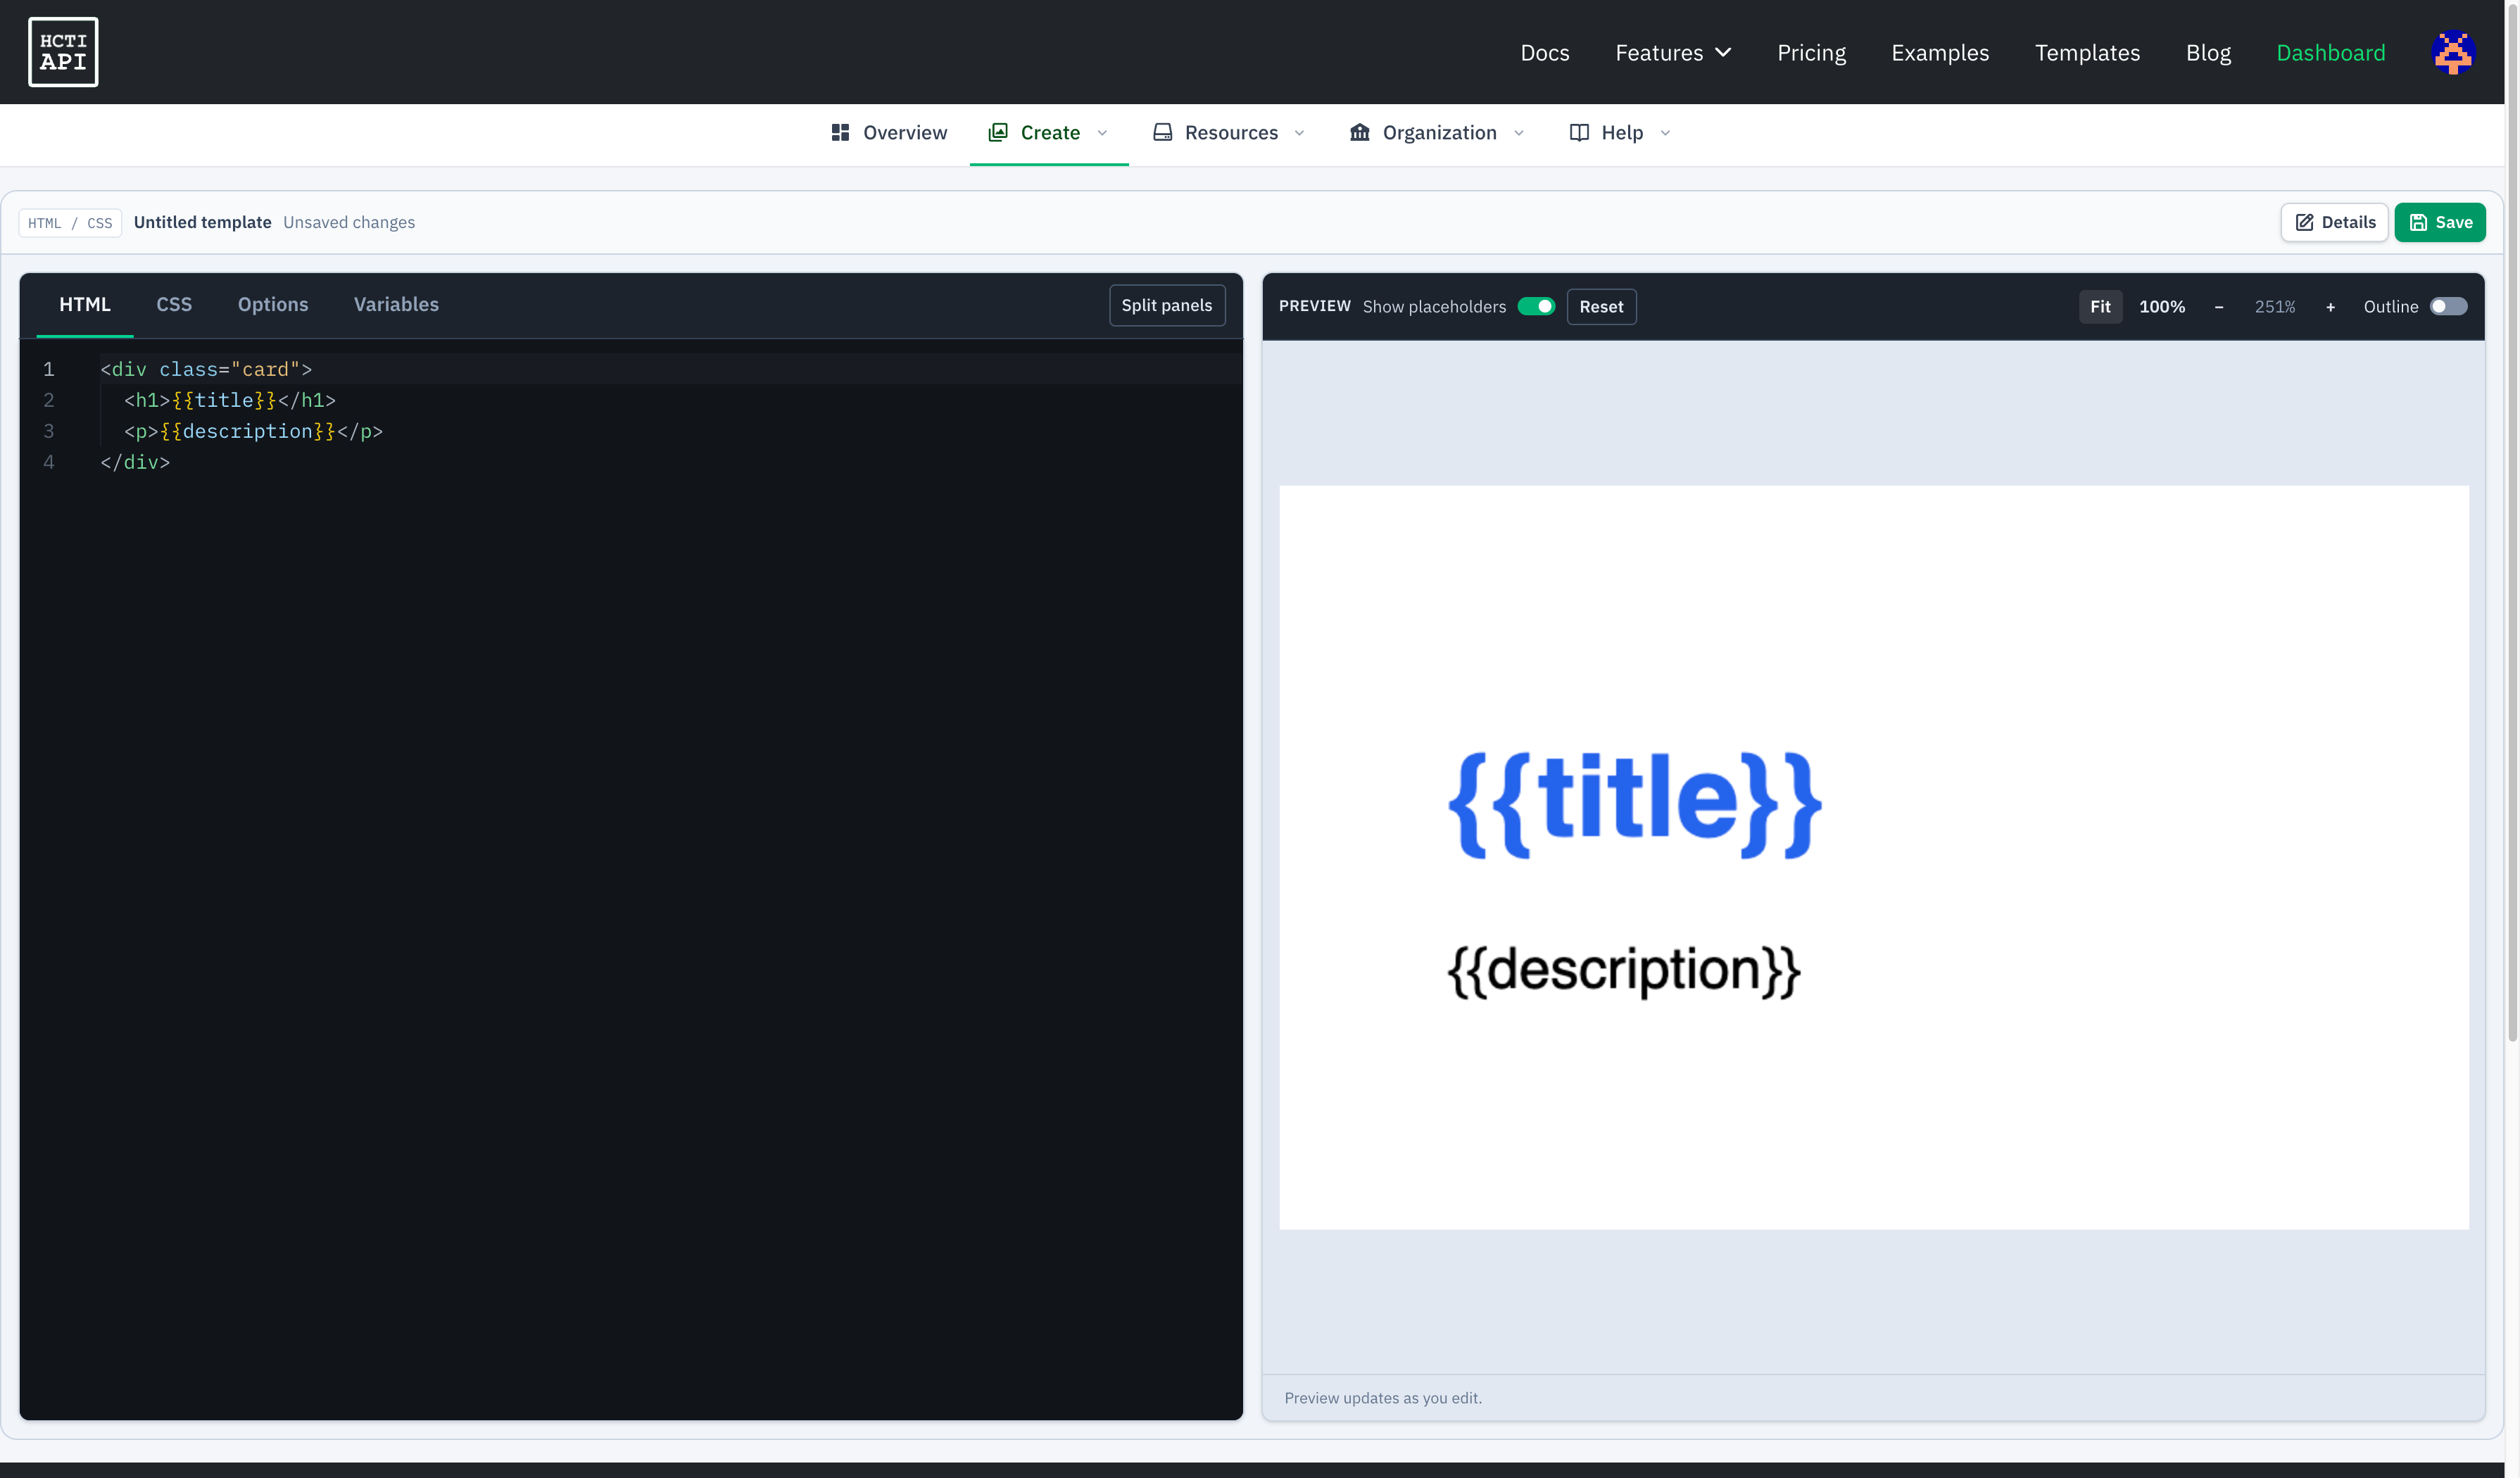
Show placeholders lets you inspect where variables appear in your layout.
Preview values are temporary
Test values help you design the template. They are not saved as template defaults. Pass the values you want in `template_values` each time you create an image through the API.
## Set rendering options
Open **Options** to configure the saved template’s rendering behavior. For example:
* Choose a viewport preset or enter its width and height.
* Set [Google Fonts](/parameters/google_fonts/), [device scale](/parameters/device_scale/), or a [transparent background](/parameters/transparent_background/).
* Choose a [selector](/parameters/selector/) and configure [capture timing](/parameters/ms_delay/).
* Configure [PDF options](/parameters/pdf_options/), [request overrides](/parameters/request_overrides/), a [proxy](/parameters/proxy_id/), or a [storage destination](/parameters/storage_destination_id/).
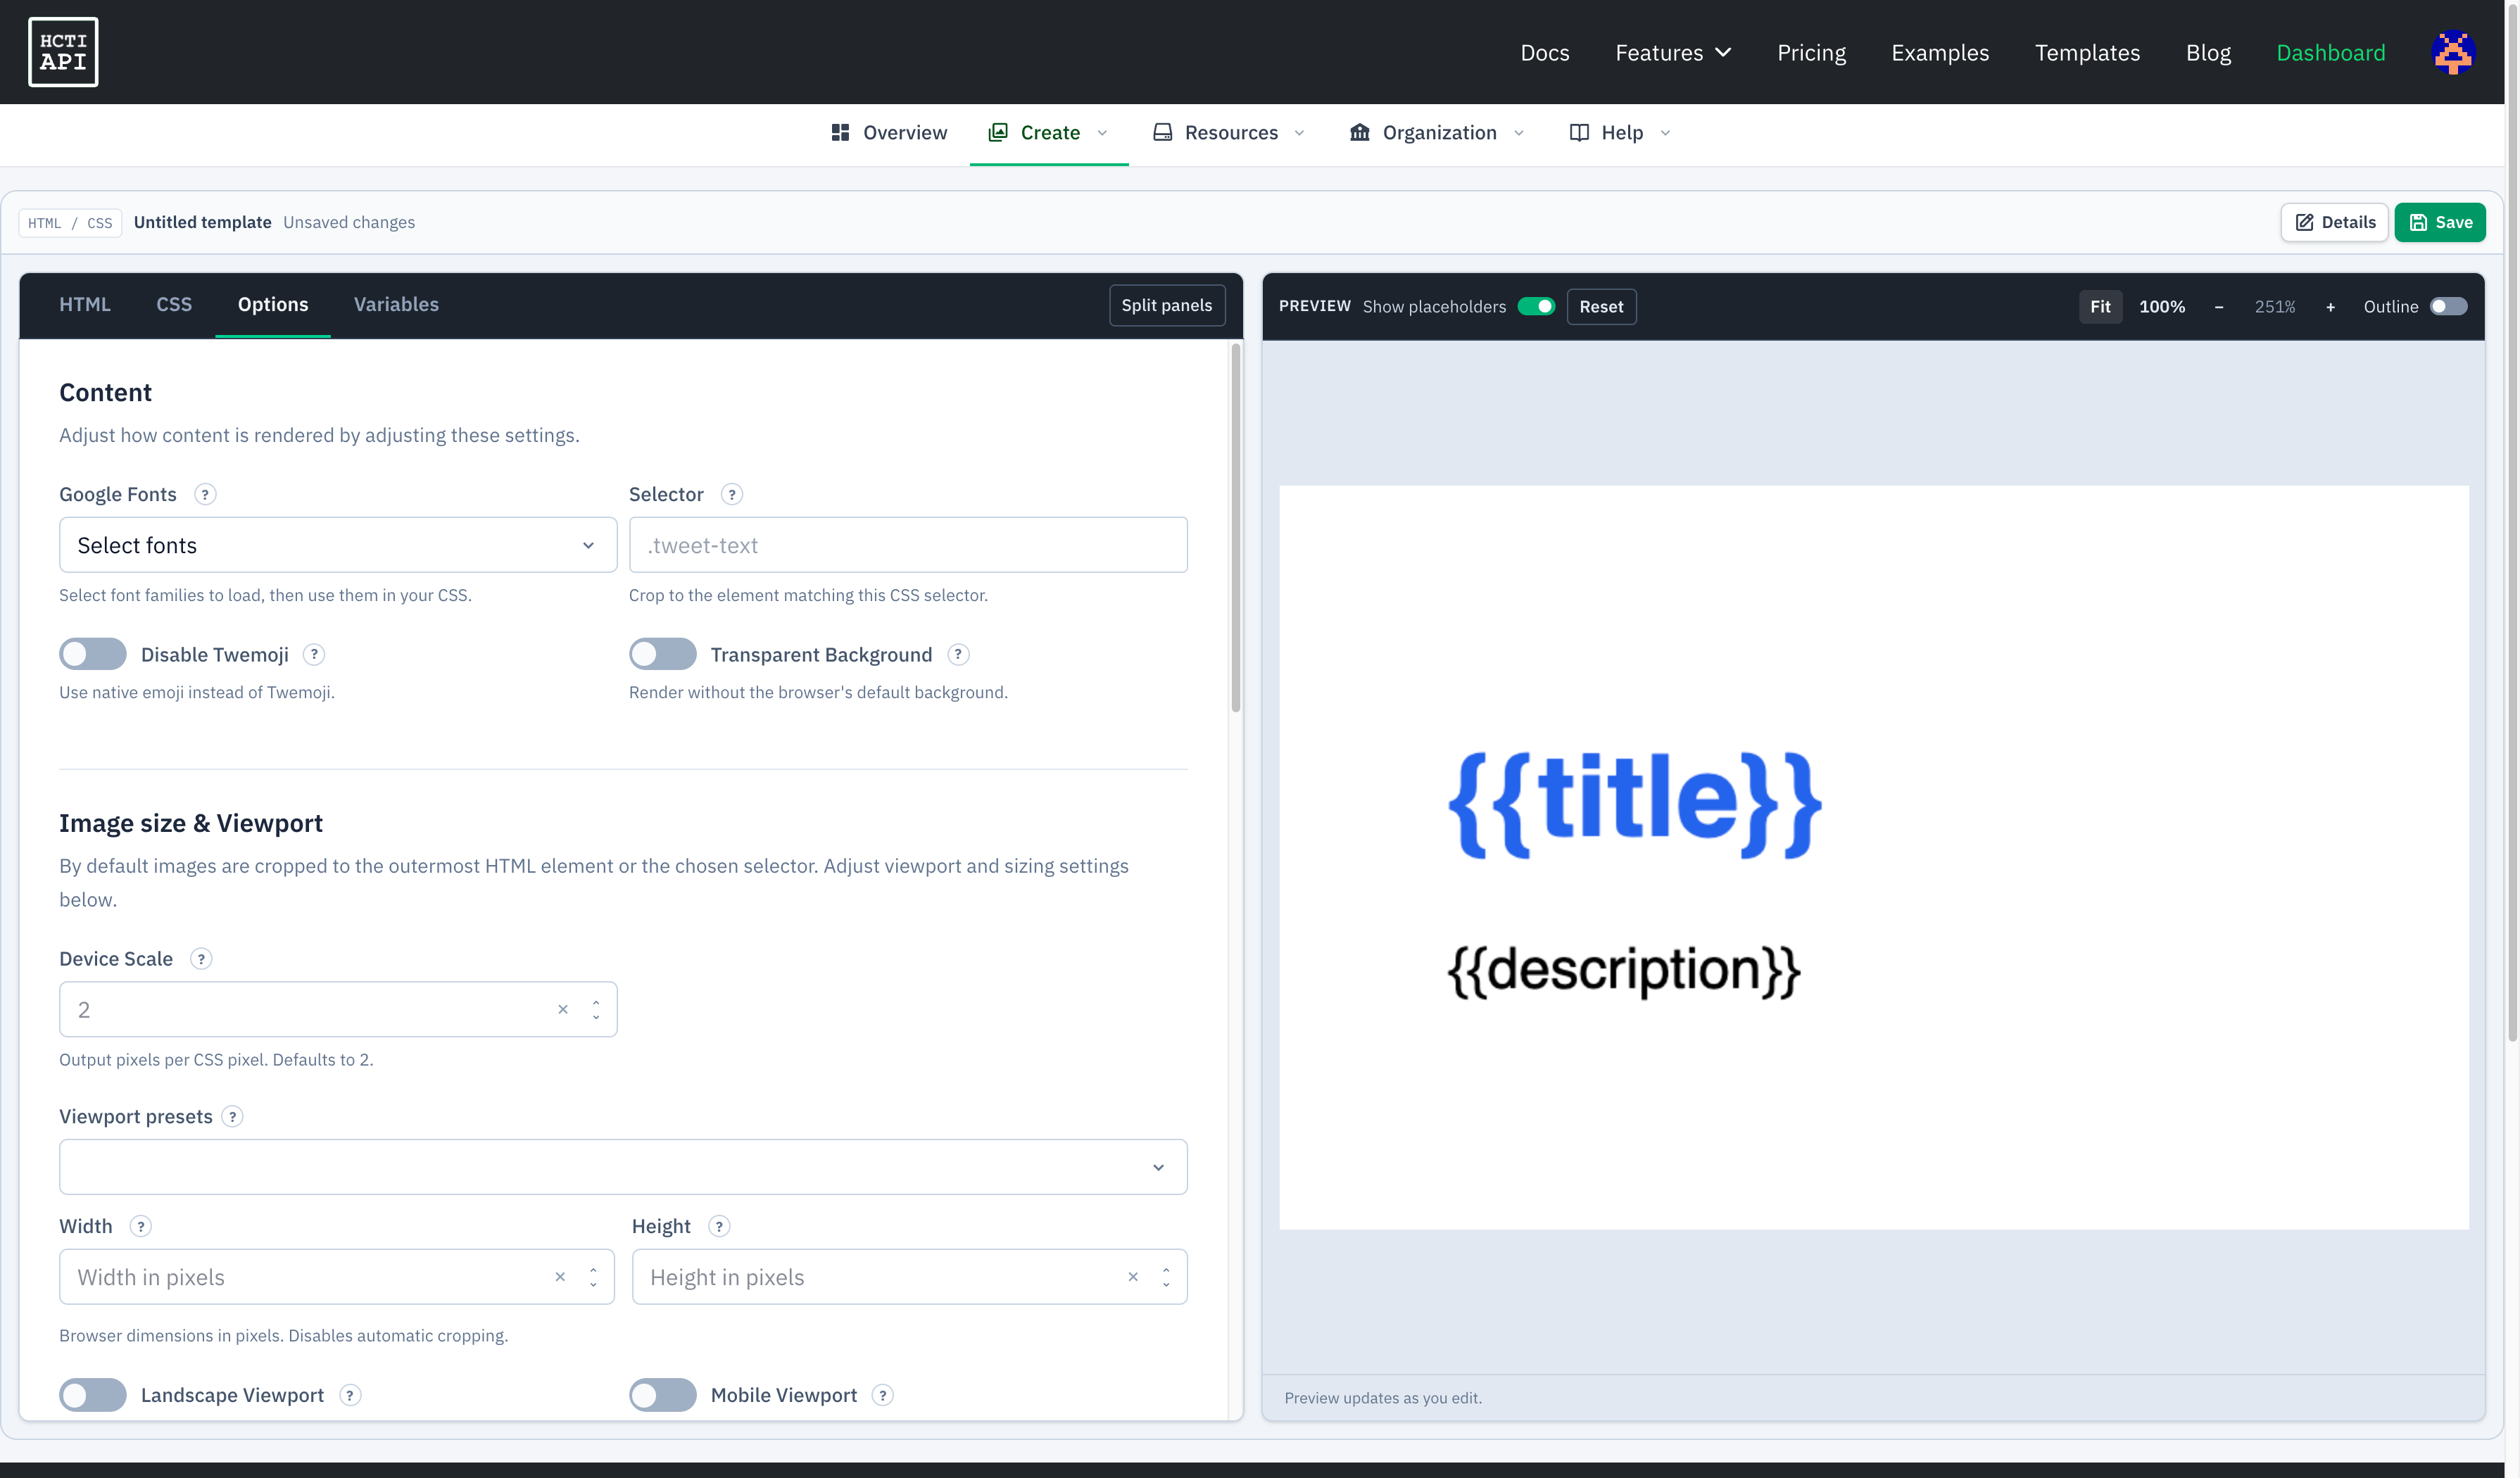
Configure fonts, image size, viewport dimensions, and other rendering options in Options.
The live preview reflects your HTML, CSS, Google Fonts, viewport, color scheme, and background transparency. Generate an image through the API to verify capture timing, cropping, output, and delivery settings.
## Inspect the preview
Use **Fit** to fit the design into the available space, **100%** to view it at actual size, or the **−** and **+** buttons to change the preview zoom. **Outline** makes the preview boundary visible. These controls change how you view the preview, not the template’s output dimensions.
If your HTML includes JavaScript, it runs inside the preview. Click **Reset** to restart the preview and clear its script state. Script errors appear above the preview; Handlebars errors must be fixed before saving.
## Save and render
Click **Details** or the template name to edit its name and description. Click **Save** to persist your HTML, CSS, details, and rendering options. Changes marked **Unsaved changes** have not been saved yet.
After saving, the toolbar shows the saved version and the page URL contains your template ID. If someone has saved a newer version since you opened the template, the editor asks before overwriting it. Cancel that prompt and reload if you want to review the newer version first.
To render the saved template, send an [image creation request](/getting-started/templates/#creating-an-image-with-a-template) to `POST /v1/image/:template_id` with your values:
```json
{
"template_values": {
"title": "Hello, world",
"description": "Your HTML and CSS template starts here."
}
}
```
Requests using only the template ID use its latest version. Use `POST /v1/image/:template_id/:template_version` to pin a specific version, or create a [signed template URL](/getting-started/create-and-render/#creating-a-templated-image-url).
Your member role needs permission to read templates to open existing ones and permission to create/update templates to save. See [permissions](/getting-started/using-the-api/permissions/) for details.
## Need help?
Talk to a human. Email [support@htmlcsstoimage.com](mailto:support@htmlcsstoimage.com) and we’ll help you get started.